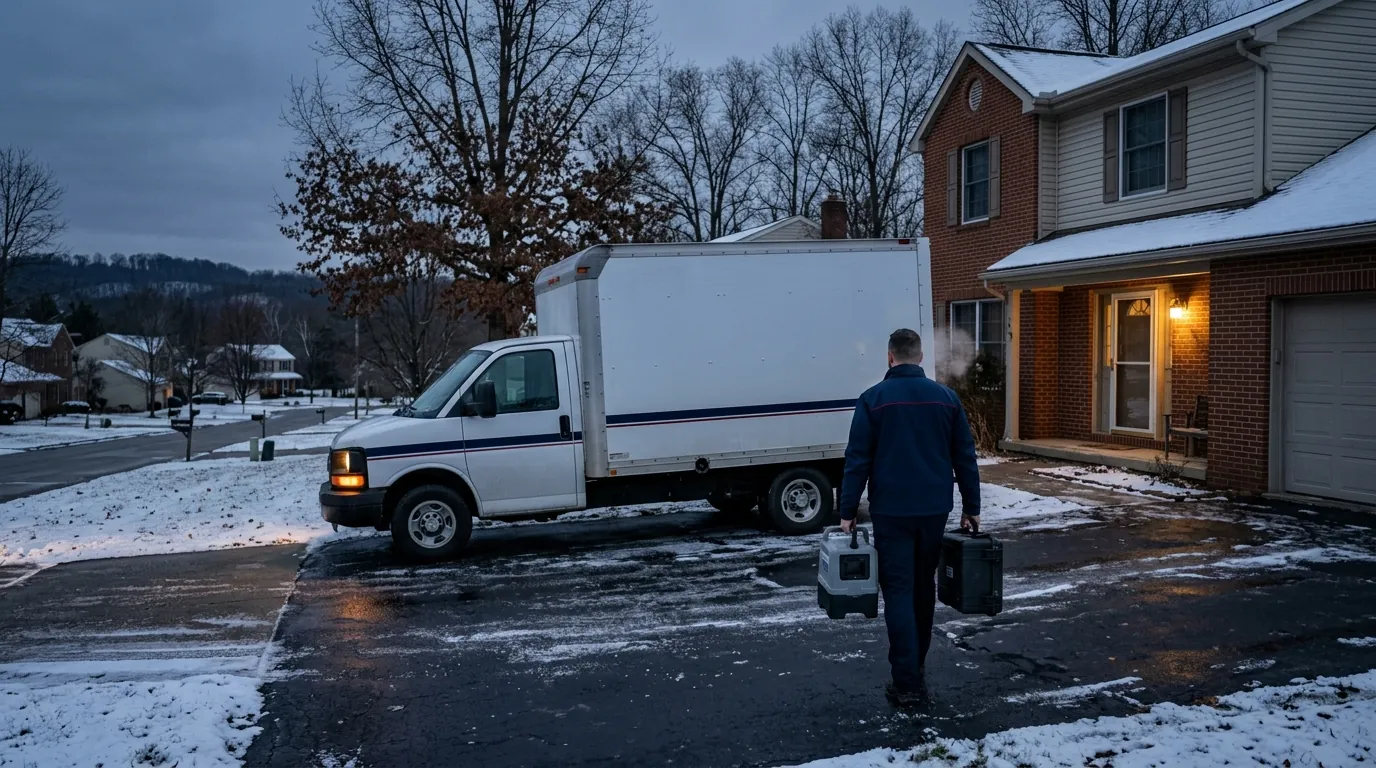
Before you dial your insurance company after a storm, stop. The single biggest mistake homeowners make is calling their insurer before they have anything documented. Adjusters move fast, and once an initial assessment is recorded, it’s hard to add damage you find later. This checklist walks you through exactly what to gather — photos, written records, temporary repair receipts, contractor notes — so that when you do make that call, you’re in control of the conversation instead of scrambling to catch up.
Step 1: Make Sure the Property Is Safe to Enter
Before you touch anything, do a quick structural scan from the outside. Look for sagging rooflines, cracked foundation walls, leaning chimneys, or downed power lines near the structure. If any of those are present, do not go inside — call your utility provider (in Butler County, that’s typically West Penn Power / FirstEnergy) and wait for clearance.
Once you’re inside, watch for:
- Soft or spongy flooring, which can signal water-saturated subfloor or joists
- A sharp, acrid smell near your electrical panel (wet wiring)
- Visible ceiling sag — a water-filled ceiling can hold hundreds of pounds before it collapses
- Gas odor — if you smell rotten eggs, leave immediately and call 911
Only after you’ve confirmed it’s safe to move through the home should you start documenting damage.
Step 2: Document Everything Before You Clean Anything Up
This is the most important step on this entire checklist. Insurance adjusters need to see the damage as it was, not after you’ve already swept up debris or pulled out wet carpet. Cleaning up first — even with the best intentions — can reduce your payout or give an adjuster grounds to dispute a claim.
Photo and video protocol:
- Start outside. Walk the full perimeter and photograph every elevation of the roof, siding, gutters, and foundation. Capture wide shots first, then close-ups of specific damage.
- Move inside room by room. Photograph ceilings, walls, floors, and any personal property that was damaged. Open closets — storm water follows framing cavities and shows up in unexpected places.
- Record a slow, narrated walkthrough video. Speak aloud what you’re seeing: “This is the northeast corner of the basement — water came in under the wall here and pooled about two inches deep.”
- Photograph your utility meters, HVAC equipment, and electrical panel if any of those were affected.
- Note the timestamp on every photo. Most smartphones do this automatically in the file metadata, but say the date aloud in your video as a backup.
Written documentation to create right now:
- A room-by-room written inventory of damaged items (furniture, electronics, appliances, clothing, tools)
- Estimated purchase dates and values for major items — check your email for Amazon or retailer receipts
- Notes on when the storm hit and how long water was present before you discovered it (this matters for mold liability timelines)
Step 3: Take Reasonable Emergency Measures — and Keep Every Receipt
Your policy almost certainly requires you to take “reasonable steps” to prevent further damage after a covered loss. That means you should act — but carefully, and with documentation.
Reasonable emergency measures include:
- Tarping a damaged roof section to stop active water intrusion
- Boarding up broken windows or doors
- Placing buckets and towels to redirect water away from finished areas
- Running a dehumidifier or fans if you own them
What counts here is that you keep every receipt for materials, equipment rentals, or labor you pay out of pocket. Most homeowner policies reimburse emergency mitigation costs as part of the claim — but only if you can prove what you spent. Take a photo of each receipt the day you get it.
Do not, however, start major repairs — replacing drywall, pulling flooring, re-roofing — before an adjuster has seen the damage. That work, even if necessary, can eliminate the evidence an adjuster needs to approve the full scope of your claim.
What NOT to Do While You’re Waiting for Your Adjuster
A few common mistakes that can complicate or reduce a storm damage claim:
- Don’t throw anything away. Damaged materials — wet insulation, ruined flooring, a broken skylight — are physical evidence. Bag debris rather than hauling it to the curb.
- Don’t sign anything from a door-to-door contractor. After major storms, solicitors move through neighborhoods quickly. Some are legitimate; some are not. A reputable contractor will give you a written estimate and won’t pressure you to sign an assignment of benefits on the spot.
- Don’t assume small damage isn’t worth claiming. A few missing shingles can admit enough water to rot the decking beneath. What looks minor from the ground can be a larger problem once someone is actually on the roof.
- Don’t wait too long to file. Most policies have a notice requirement — typically 30 to 60 days from the date of loss. Check your declarations page for the exact window.
When to Call a Restoration Professional (Not Just a Roofer)
A general contractor or roofer handles the rebuild. A restoration contractor handles what happens before the rebuild — stopping active damage, drying out wet materials, and documenting the full scope of loss in a way that supports your insurance claim.
Call a restoration professional if:
- Water entered the structure and has been sitting for more than 24 hours. Mold can begin colonizing wet drywall and insulation within 24–48 hours under typical Pennsylvania summer humidity conditions.
- You can smell must or mildew anywhere in the house, even if you can’t see visible growth.
- Water reached your HVAC system, ductwork, or electrical components.
- You’re not sure how far the moisture traveled. Water follows framing, wicks through insulation, and pools in wall cavities — a moisture meter is the only way to know where it actually went.
- Your insurer’s adjuster has already been out but you feel the scope of damage was underestimated.
Restoration contractors document damage with moisture readings, thermal imaging, and written scope reports — the kind of technical record that holds up when you’re negotiating a claim or disputing a low estimate.
The Longer Recovery Timeline: What to Expect After the Claim Is Filed
Most homeowners underestimate how long the full process takes. A realistic sequence:
- Day 1–3: Emergency mitigation (tarping, boarding, water extraction if needed)
- Day 3–7: Insurance adjuster inspection
- Week 1–2: Drying and dehumidification of wet structural materials (this takes days, not hours — rushing it causes hidden mold)
- Week 2–4: Claim negotiation and written scope approval
- Week 4–8+: Reconstruction, depending on the extent of damage and material lead times
Pennsylvania winters add a variable: frozen ground and cold temperatures slow drying times and can complicate roofing repairs. If a storm hits in late fall, factor that into your timeline conversations with both your insurer and your contractor.
If you’ve been through a storm and you’re staring at water stains, missing shingles, or a basement that smells wrong, the documentation steps above will protect your claim regardless of who you ultimately hire. When you’re ready to talk through what you’re seeing — or you need a professional moisture assessment before your adjuster arrives — FireDEX Butler serves Cranberry Township and the surrounding Butler County area. Call (724) 452-7400 to schedule an evaluation.