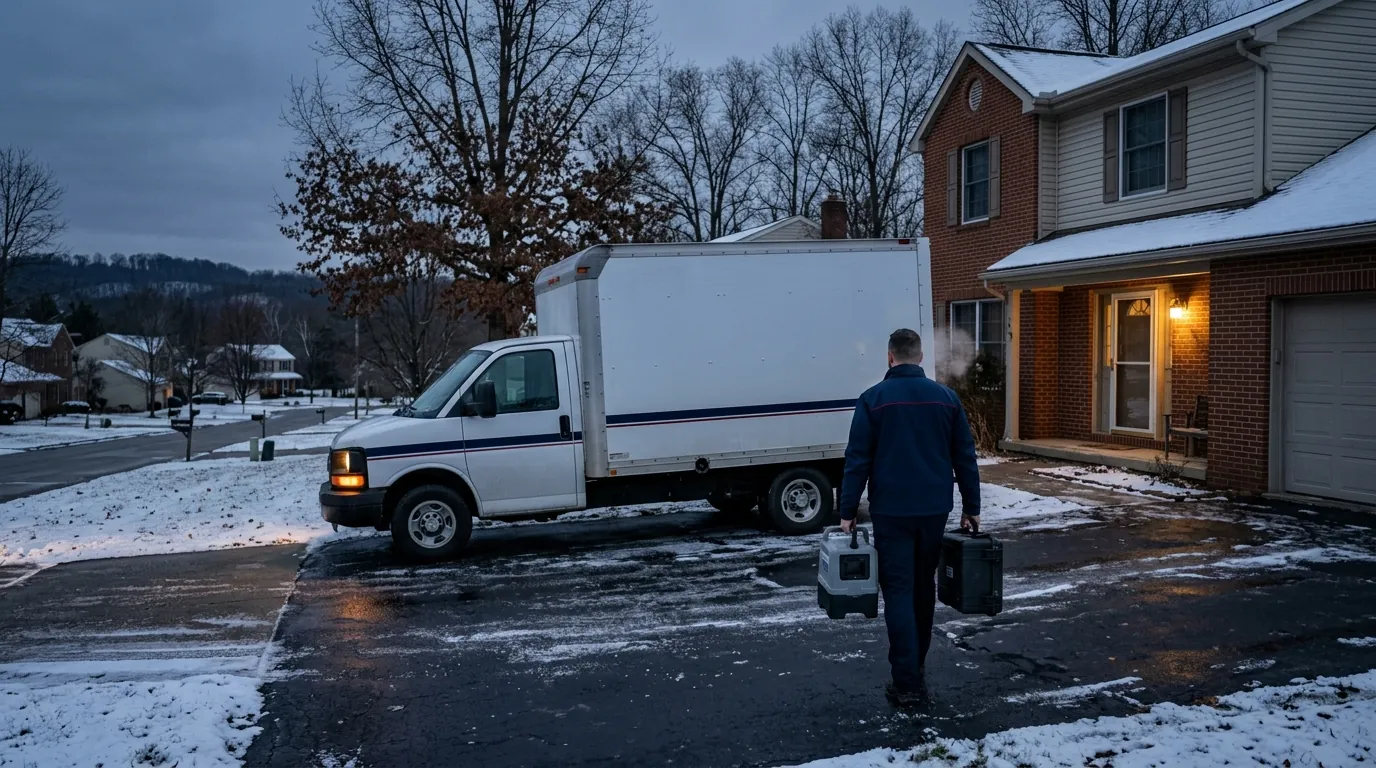
Testing for mold in your home comes down to one core question: do you need a number, or do you need answers? DIY air-sampling kits can tell you whether mold spores are present in a room — but they rarely tell you what species, where the colony is growing, or whether the count is dangerous. A professional inspection does all three. If you already see or smell mold, skip the kit entirely and go straight to a pro. If you have a vague concern after a past leak or a musty odor you can’t locate, this guide will help you decide which path makes sense.
What DIY Mold Test Kits Actually Do (and Don’t Do)
Most hardware-store kits — brands like Mold Armor or Pro-Lab — work one of two ways: a petri-dish culture test you leave open in a room for 48 hours, or a swab test you wipe on a surface and mail to a lab. Both have real limitations.
Culture (petri dish) tests grow whatever settles onto the dish from the air. The problem is that mold spores are everywhere — outdoors, in your HVAC filter, on your clothes. A positive result almost always comes back positive, because some level of mold exists in every home. The kit can’t tell you whether the count in your bedroom is meaningfully higher than the count outside, which is the comparison that actually matters.
Swab tests are more useful when you already see a suspicious stain and want to know whether it’s mold before tearing into a wall. A lab can identify the genus (Cladosporium, Stachybotrys, Aspergillus, etc.) from a swab. What it still can’t tell you: how large the colony is, whether it has spread behind the surface, or whether there’s a second growth site in the same room.
Both test types also require you to mail samples and wait — typically 5 to 10 business days — for results. In a situation where you had a water intrusion event, mold can begin colonizing damp organic material (drywall paper, subfloor wood, insulation) in as little as 24 to 48 hours. Waiting a week for lab results while moisture sits in a wall cavity is rarely the right call.
When a DIY kit is reasonable:
- You want baseline documentation before buying a home and a full inspection isn’t yet scheduled.
- You’re testing a single visible stain on a hard, non-porous surface (tile grout, a bathroom ceiling) to confirm identity before cleaning it yourself.
- Your concern is mild and there’s no known water damage history.
What a Professional Mold Inspection Covers
A certified mold inspector brings tools a kit can’t replicate: a moisture meter that reads behind drywall without cutting it open, a thermal imaging camera that spots temperature differentials caused by wet insulation, and an air sampling pump that pulls a measured volume of air through a cassette for lab analysis.
The air sample result is compared against an outdoor baseline taken the same day. That comparison — indoor spore count versus outdoor spore count — is what determines whether elevated mold is present inside your home, not just whether any spores exist at all.
A thorough inspection also traces the moisture source. Mold is a symptom. The cause is almost always a water problem: a slow roof leak, a sweating pipe inside a wall, a crawl space with no vapor barrier, a bathroom exhaust fan that vents into the attic instead of outside. Treating mold without fixing the moisture source means it comes back, usually within weeks.
In the Cranberry Township area, older homes in neighborhoods like Adams Ridge or near the Connoquenessing Creek corridor often have crawl spaces that flood seasonally or basement walls that wick groundwater after heavy rain. Those conditions create persistent moisture that feeds mold year after year unless the source is addressed.
What a professional inspection typically includes:
- Visual survey of the entire structure, including attic and crawl space
- Moisture readings at suspect areas (walls, floors, ceilings)
- Air samples from 2–4 rooms plus one outdoor baseline
- Written report with species identification, spore counts, and recommended remediation scope
FireDEX Butler offers professional mold inspection and testing services — the report you receive can also be used to document conditions for an insurance claim or a real estate transaction.
The Situation That Makes the Choice Easy
If any of the following are true, skip the DIY kit:
- You had a water intrusion event — a burst pipe, roof leak, appliance overflow, or flooding — and it wasn’t fully dried within 48 to 72 hours.
- You can smell mold but can’t find it. A musty, earthy odor that’s stronger in one room or gets worse when the HVAC runs is a sign of hidden growth inside walls, ductwork, or a crawl space.
- Someone in the home has unexplained respiratory symptoms — chronic congestion, coughing, or headaches that improve when they leave the house. This isn’t a medical diagnosis, but it’s a reason to get professional air quality data rather than a petri dish.
- The stain is larger than roughly 10 square feet. The EPA’s guidance on mold cleanup suggests that areas larger than about 10 square feet (roughly a 3×3 patch) warrant professional assessment before any remediation work begins.
- The mold is on or near HVAC components. Mold inside a return air plenum, on coil fins, or in ductwork can distribute spores throughout the entire house every time the system runs.
What Not to Do Before Testing
A few common mistakes contaminate test results or make the problem worse:
- Don’t run a HEPA air purifier in the room before sampling. It will artificially lower the spore count and produce a false negative.
- Don’t bleach the surface before a swab test. Bleach kills surface mold but doesn’t penetrate porous materials, and it destroys the sample you need for identification.
- Don’t open windows to “air out” a moldy room before air sampling. Outdoor air dilutes the indoor sample and skews the baseline comparison.
- Don’t disturb visible mold growth — scrubbing, sanding, or cutting into a mold-affected wall — without containment in place. Disturbing a colony releases millions of spores into the air and can spread contamination to clean areas of the home.
After Testing: What Comes Next
If the test — DIY or professional — comes back negative and there’s no moisture source, you’re likely dealing with dust, efflorescence (mineral deposits on concrete), or a non-mold stain. Clean the surface with a mild detergent and monitor it.
If the test confirms mold, the remediation process depends on the scope:
- Small surface mold on non-porous materials (tile, glass, metal): clean with an EPA-registered antimicrobial, dry the area thoroughly, and fix the moisture source.
- Mold on drywall, wood framing, or insulation: these materials are porous and typically need to be removed and replaced, not just cleaned. This is the work that falls under professional mold remediation.
- Hidden mold behind walls or under flooring: requires containment (plastic sheeting and negative air pressure) before demolition begins, so spores don’t migrate to unaffected rooms during removal.
FireDEX Butler handles the full remediation process — from containment and material removal through structural drying and clearance testing — so you have documentation that the problem is resolved, not just treated.
If you’ve read this far and you’re still unsure which path to take, the safest default is a professional inspection. A kit tells you whether mold is present. An inspection tells you what to do about it. For questions about mold testing or remediation in the Cranberry Township area, call FireDEX Butler at (724) 452-7400.